
Planning · 8 min read
How to Plan an Outdoor Entertaining Area
Start with how you want to live outside, then work towards the deck, roof and finishes. This guide puts the decisions in a useful order.
Written by Elliot, carpenter and owner of Fine Design Co
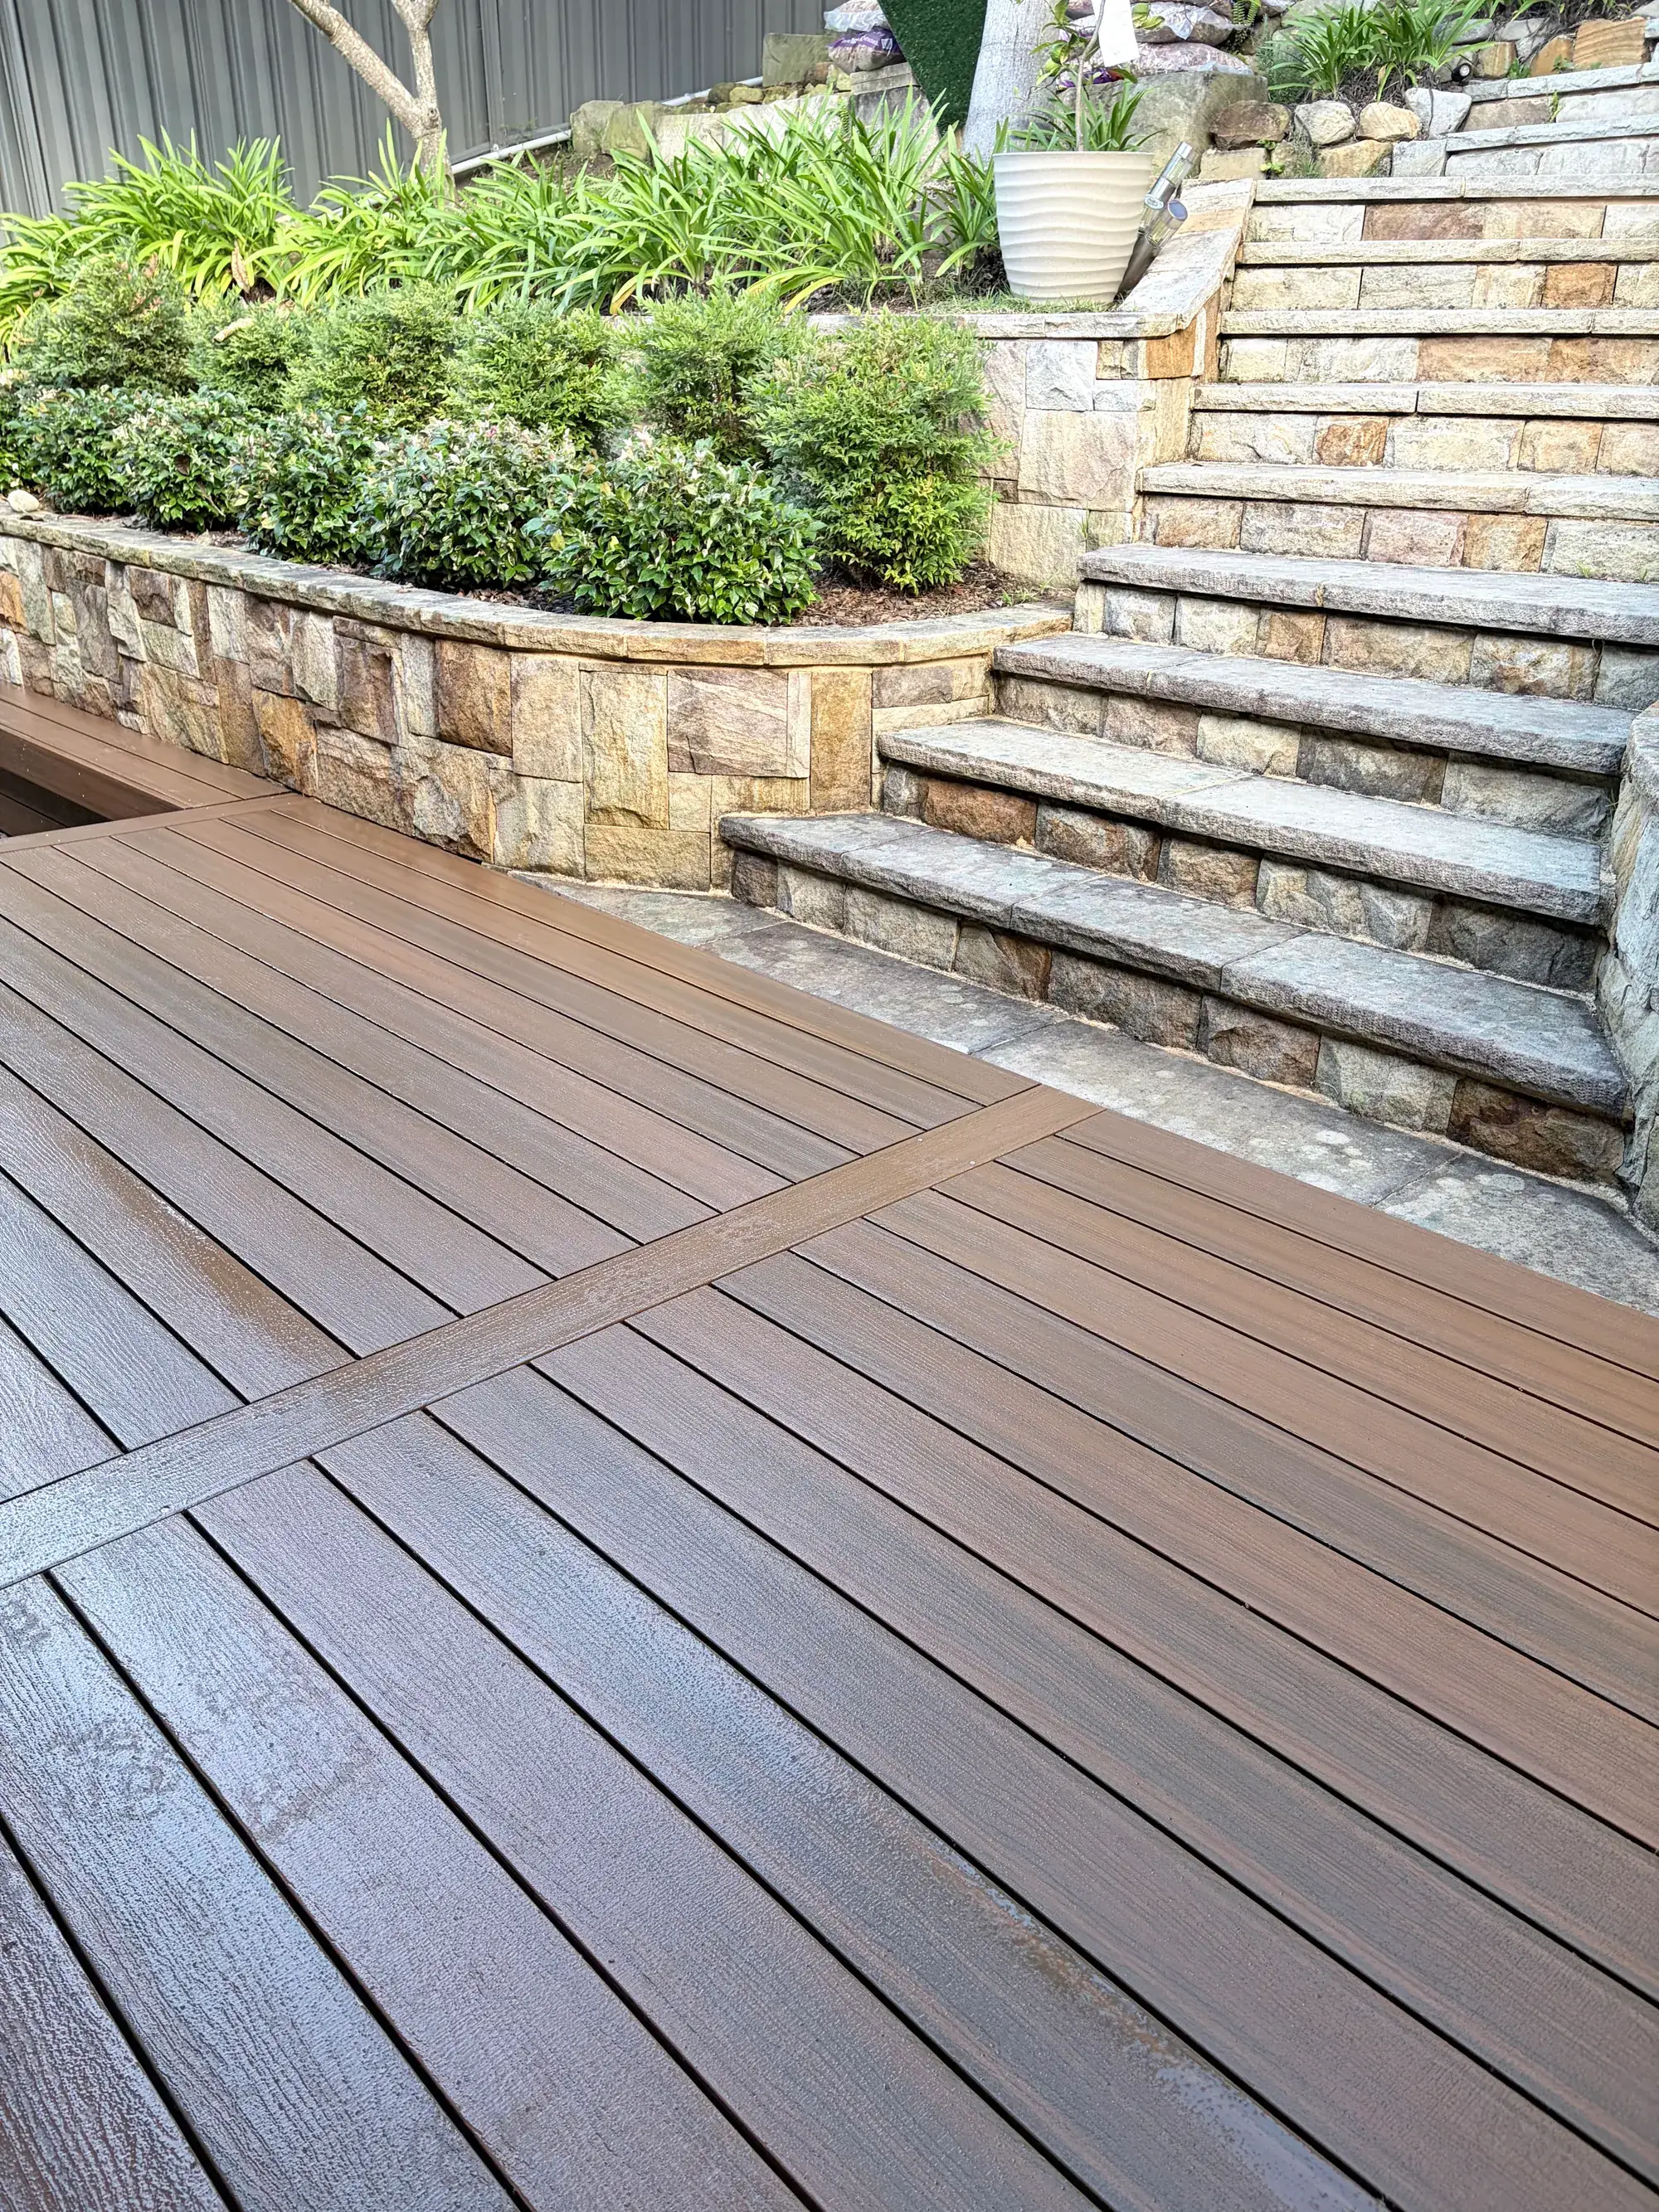
The most useful entertaining area is not necessarily the biggest one. It is the place where you can carry dinner outside without squeezing past a chair, find shade when you actually need it and reach the garden without walking through the barbecue zone. We start with those ordinary movements because they tell us more than a collection of attractive deck photos.
Planning an outdoor entertaining area is easier when the decisions happen in order. Settle the purpose, layout and relationship to the house first. Then choose the structure, materials and finishes that support it. Working directly with Elliot helps keep design, budgets and the other trades connected rather than treating each as a separate project.
1. Describe an ordinary afternoon outside
Think about who uses the space on a normal day, not only at the biggest gathering of the year. A couple eating outside most evenings may want a comfortable table close to the kitchen. A family with young children may value a clear route to the lawn and a sightline from inside. Someone working outside occasionally needs shade and practical power access more than a second lounge setting.
- List the activities that happen every week, then the occasional extras.
- Decide which furniture you genuinely need rather than filling every available corner.
- Identify who needs easier access, including children, older relatives and visitors with limited mobility.
- Keep existing trees, garden views and useful shaded areas in the conversation.
- Write down what does not work now: wet doors, wind, overlooking or awkward steps.
Photographs taken at different times help explain those problems. So does a quick sketch showing doors, windows, drains and established plants. You do not need a polished plan before speaking to us, but a clear account of everyday use makes the first site discussion much more productive.
2. Set out zones with real furniture
Mark the table, chairs, barbecue and any lounge area on the ground using tape or lightweight markers. Use the actual furniture dimensions, including chairs pulled back as someone stands up. Walk the route from the kitchen to each seat carrying an imaginary tray. If that route depends on everyone tucking their chair in perfectly, the layout needs more thought.
Separate cooking from the main traffic path and allow the appliance manufacturer’s clearances. Heat, smoke and grease should not be directed towards a doorway, screen or combustible roof lining. Do not design a tightly enclosed barbecue nook and assume ventilation can be solved later. Gas and electrical installation requirements need the appropriate licensed trades and product instructions.
| Zone | Plan around | Easy mistake to avoid |
|---|---|---|
| Dining | Occupied chairs and a clear serving route | Measuring only the tabletop |
| Cooking | Appliance clearances, ventilation and safe services | Putting the cook in the main walkway |
| Lounging | Shade at the time you will use it | Choosing a sunny winter spot that overheats in summer |
| Garden access | A direct, well-lit route and suitable levels | Sending everyone through the cooking area |
| Storage | Dry access to cushions and everyday items | Filling a circulation space with storage boxes |
Make the footprint earn its place
A narrow extension can sometimes improve circulation more than a broad extra platform in the wrong direction. Equally, a compact deck connected to a well-placed garden terrace may work better than one large raised surface. Consider ongoing cleaning, furniture care and garden access before increasing the footprint. Extra area brings extra structure, finishes and maintenance as well as extra room.
3. Watch the sun, wind and neighbours
Spend time in the yard in the conditions you want to use it. Morning sun can be welcome over breakfast, while low western sun may reach well under a roof during dinner. Record where the house shades the ground and where glare reflects off paving or neighbouring walls. One visit cannot show the full seasonal pattern, so think about both summer shade and winter light.
Wind protection can make a space more usable, but closing every side may trap heat or change how the structure behaves. Screens also cast shadows and can affect views from inside. Consider sightlines from neighbouring windows and from your own kitchen before choosing screen height, location and batten spacing. A strategically placed panel can provide privacy without turning the whole deck into a box.
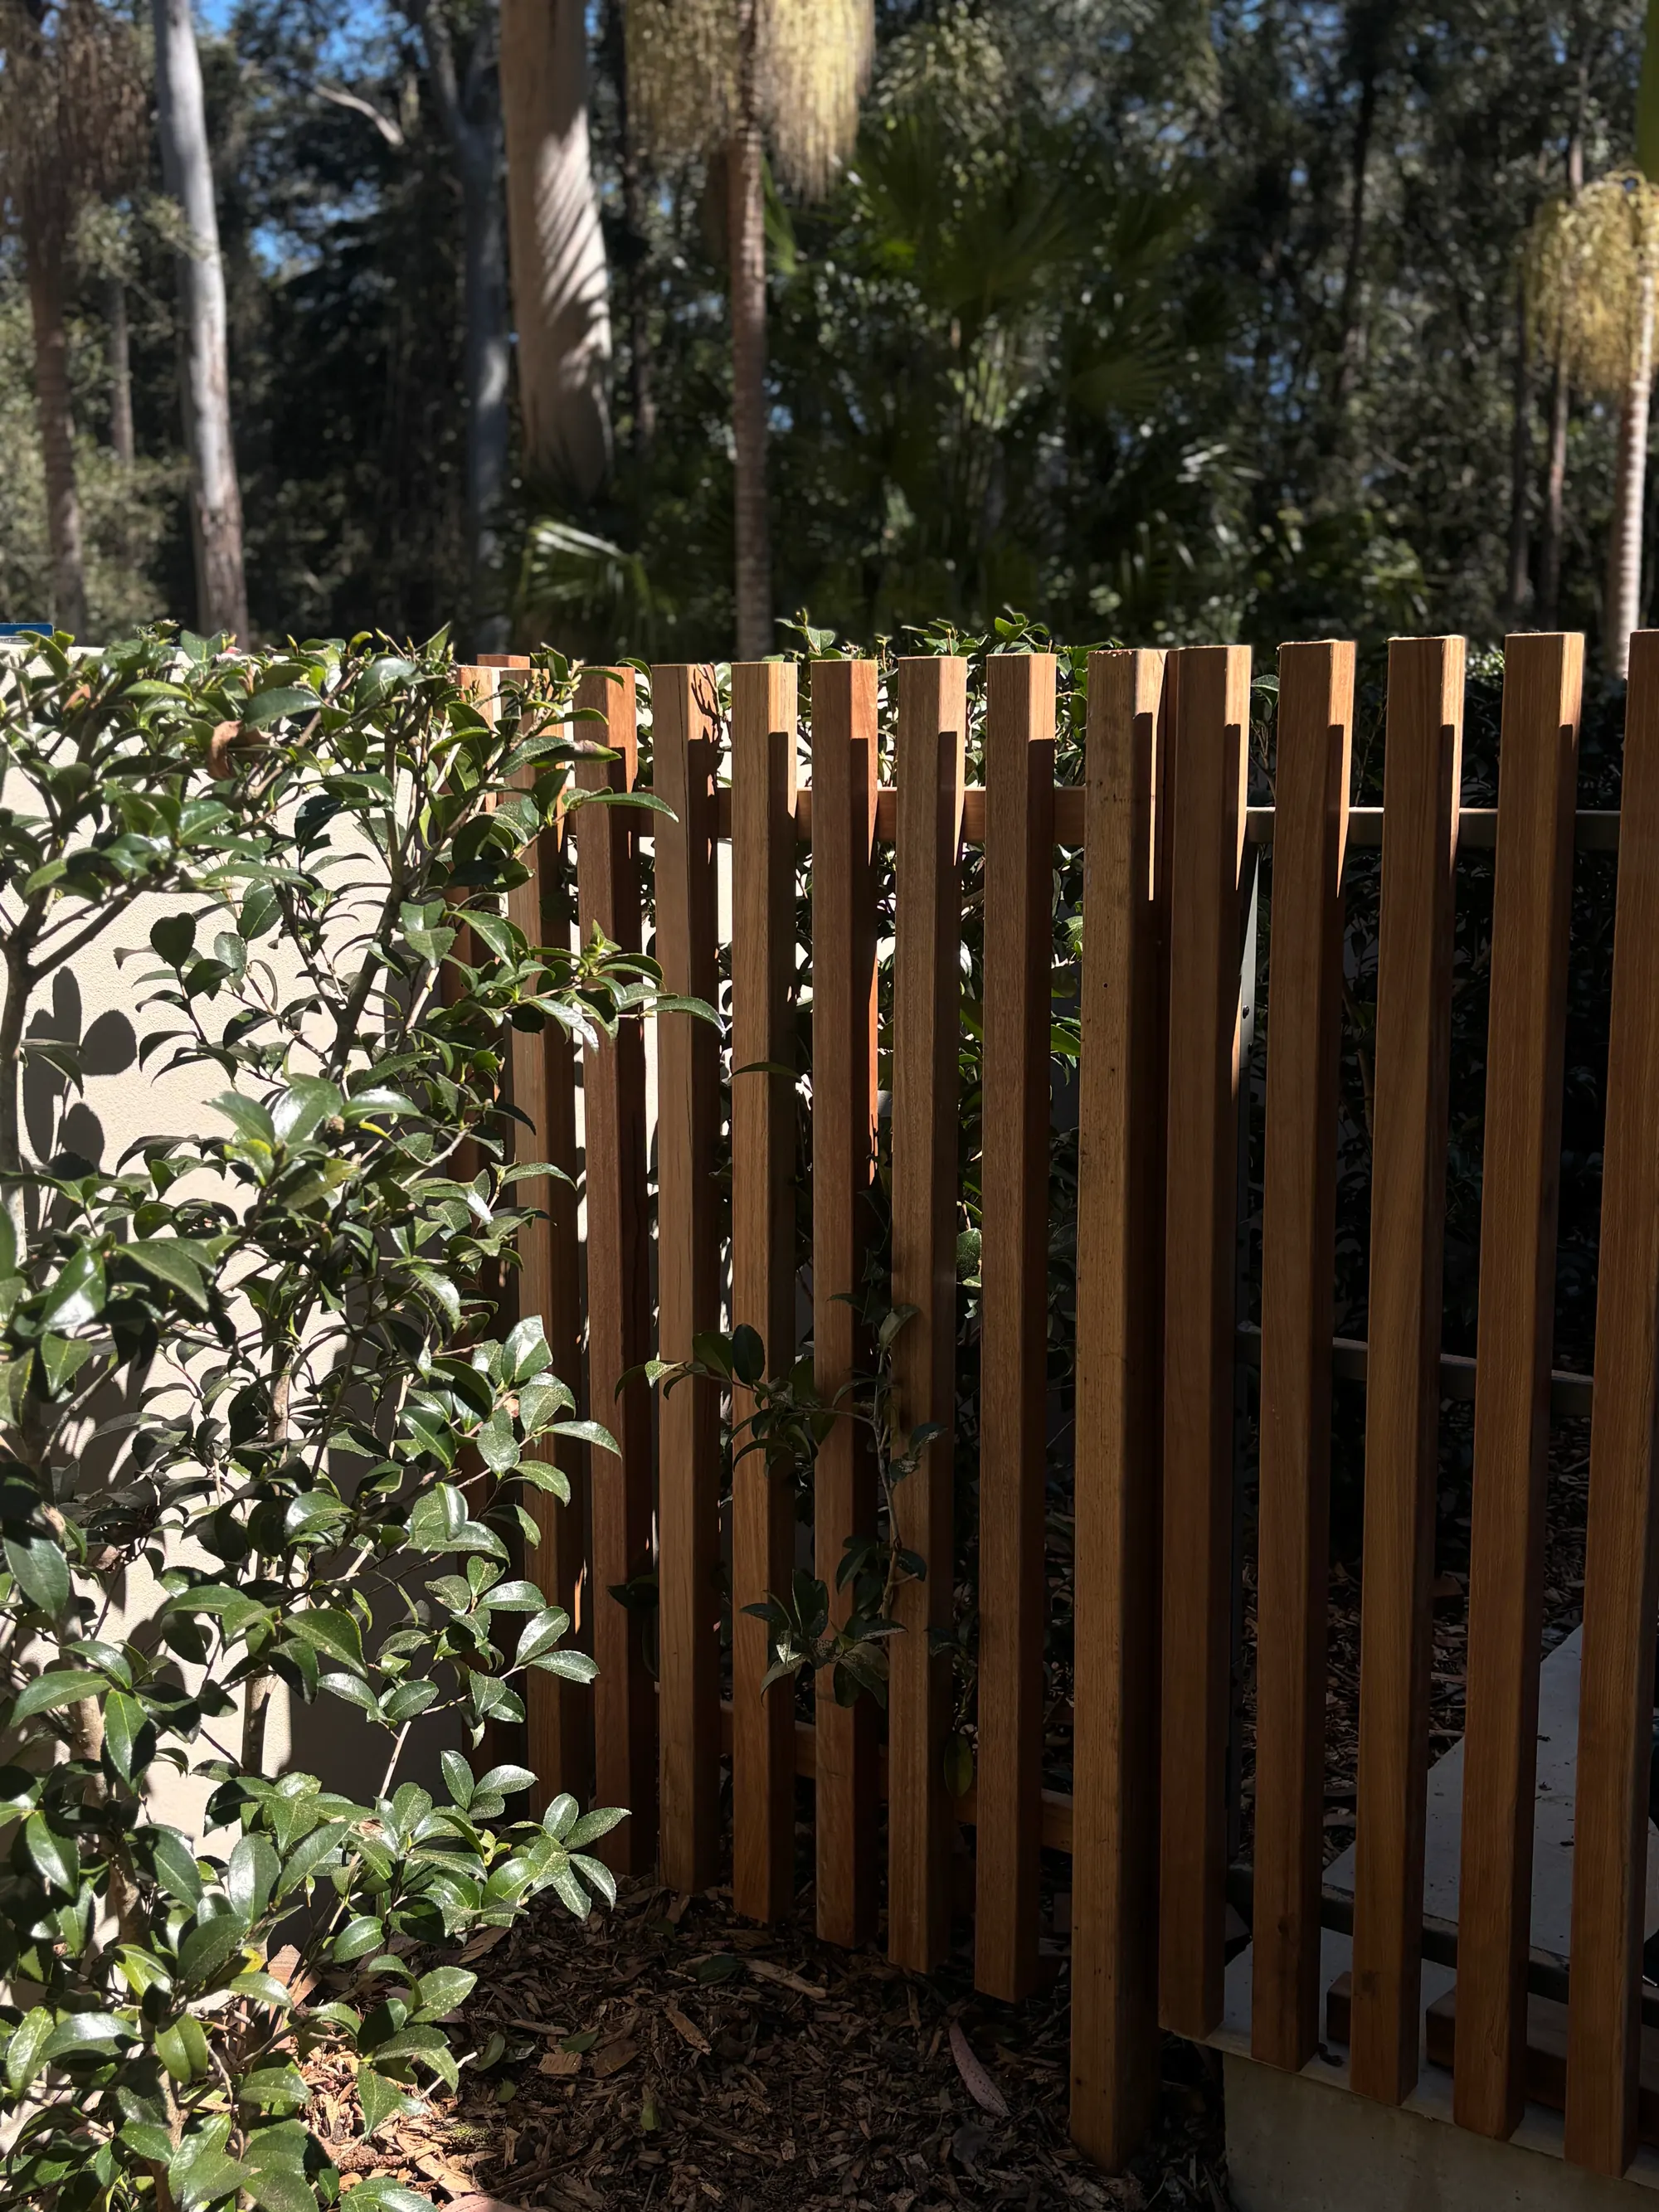
Coastal and bushland sites
Salt exposure changes the specification and maintenance needs of metal components, while humid, shaded corners need airflow and good drainage. On bushfire-prone land, the BAL assessment and AS 3959 requirements can affect materials and detailing. Establish those constraints before falling in love with a particular screen, board or roof lining. They are design inputs, not finishing checks.
4. Connect levels and indoor living
The relationship between the kitchen, door threshold and outdoor surface deserves careful attention. A visually flush transition still needs appropriate weatherproofing, drainage and clearances; it is not achieved by simply lifting the deck to the internal floor level. Look at the direction doors open and whether a screen door will conflict with furniture or a step.
On sloping land, more than one level can help fit the garden, but each change introduces circulation and edge considerations. Put stairs where people naturally want to walk, with useful landings and lighting. Our deck stair work is planned with these routes so the garden connection does not become an awkward leftover.
5. Decide whether the roof solves your problem
A roof adds weather protection but also changes the daylight inside the home. An open structure may be enough for a lightly used garden sitting area, while the main dining space may benefit from dependable cover. Compare the roof’s depth and orientation with the windows it shades, rather than choosing purely from how it looks outside.
Our pergola roof comparison weighs metal, insulated panels, polycarbonate and other options against heat, light and maintenance. Think about rain noise near bedrooms and where gutters will discharge. Adding a roof later is only straightforward if its supports, connections and approval implications have been considered from the start.
6. Plan services while the structure is open
Decide where lighting, power and water will be useful before decking and cladding hide access. A dining light, step lighting and a cleaning tap solve different problems and may need different locations. Lighting should reveal changes in level without shining directly into seated eyes or neighbouring windows. Ask the electrician about switching from inside and equipment suitable for the exposure.
Use licensed electricians and plumbers for the work that requires them, including any relevant gas work. Keep cables, pipes and access points coordinated with footings and framing. Water also needs to leave the area safely: an outdoor sink or wash-down point is not permission to discharge into the garden or stormwater. The trade must confirm the correct connections.
7. Choose materials for how you will use them
Barefoot comfort, cleaning effort and long-term appearance matter as much as a new board sample. Hardwood offers natural variation and the choice of maintaining colour or allowing weathering, with suitable care. Composite products have different heat, fixing and maintenance characteristics, so compare actual products rather than treating all composites as identical. Neither material excuses poor drainage or ventilation.
Read our composite and hardwood comparison with the site conditions in mind. Screening, balustrades and roof components should form a workable palette, not simply match by colour. Near salt air, compatible fixings and coatings deserve the same attention as the visible boards. Leave practical access to inspect important connections later.
8. Set a whole-project budget and stage carefully
Budget for the work that makes the visible area possible: demolition, foundations, access, drainage, balustrades, stairs, electrical work and finishing. A sloping site or restricted access may influence cost more than a board upgrade. Keep scope clear when comparing options so a lower quote is not simply excluding essential work.
Staging can be sensible if the first stage is safe, usable and designed for what follows. Future roof posts may need provisions now, and later excavation should not damage a completed deck. Do not leave an unsafe open edge or temporary access as a long-term arrangement. Decide what each finished stage actually delivers before splitting the project.
9. Check approvals before finalising the design
The approval pathway depends on the property and the combined proposal, including decks, roofs, height and boundaries. Check constraints through Central Coast Council, the NSW Planning Portal or the appropriate certifier. Our NSW approval article is a starting point, not a substitute for assessing your site.
Once the main decisions are clear, take a sketch, furniture dimensions and photographs to your first discussion. Note which choices are essential and which are flexible. That gives us a practical brief to work from and helps keep the design focused on the life you want outside, rather than adding features that compete for space.
Questions
Frequently asked questions
How do we decide the right size?
Start with your actual furniture and mark out occupied seating and walking routes. Check door swings, garden access and the cooking zone rather than measuring the table alone. The right footprint follows those uses and the available site, not a universal minimum area.
Should the deck be level with the indoor floor?
A close visual connection can be useful, but the threshold needs appropriate weatherproofing and drainage. Simply raising boards to match the indoor level may create water-entry risks or cover required clearances. Have the junction designed for the house and door system.
Can we build the roof later?
Possibly, if the future structure is considered in the initial design. Supports, footings, connections and approvals may need provision from the outset. A finished deck should not be assumed capable of supporting a roof without assessment.
Do privacy screens need approval?
Requirements depend on the proposal and property constraints. Screening can also affect wind loads, light and neighbours, so it is more than a decorative choice. Check its implications along with the deck or roof rather than treating it as unrelated work.
When should the electrician get involved?
Before framing and finishes restrict access, particularly where cables or lighting need concealed routes. The electrician can advise on equipment, locations and safe installation requirements. Early coordination also helps avoid awkward visible conduits added after completion.
Is it sensible to stage a limited budget?
It can be, provided each stage is complete and safe and later work has been planned. Repeating excavation or removing finished boards for services can cancel the saving. Compare a well-resolved smaller project against a larger project left indefinitely unfinished.
Related services
Request a quote
Planning a deck, pergola or outdoor living space?
Tell us a little about your home and what you have in mind. Elliot will be in touch to arrange an on-site visit and talk through materials, design and budget.